Words & Photos by Clay Dolan
There is no shortage of unique locations to capture your summer memories along the Escarpment—one of my favourite places to shoot is Blue Mountain. Whether you’re shooting landscape photos from the top of the hill overlooking Georgian Bay, downhill mountain biking in the woods, or family portraits in the Village, Blue Mountain has a plethora of opportunities to create engaging images.
Regardless of what type of camera you’re using—GoPro, single-lens reflex camera (DSLR), or even your cell phone—there are a few simple tricks that can help you capture incredible images. Any photographic equipment you use relies on three fundamental elements: Shutter Speed, Aperture and ISO. Known as the “exposure triangle”, understanding how these settings work together will help you adjust your technique based on your shooting situation.
Shutter speed refers to the length of time your camera’s sensor is exposed to incoming light. The slower the shutter speed, the more light is let in, and vice versa.Aperture is the hole within a lens that allows light to pass through. To visu- alize this, think about the iris in your eyes. When you are in a dark environment your iris opens up which lets more light in. When you are in direct sunlight your iris becomes much smaller to reduce incoming light. Aperture also controls the depth of field, or how much of the image is in focus. ISO in digital photography refers to the sensitivity or “gain” of your camera’s sensor. Increasing ISO brightens your images, but it comes at a price as you’ll also experience increased “noise” (or reduced image quality). Think of this like turning up the volume knob on your AM/FM radio–the louder you go, the more “static” you’ll hear. Cell phones and GoPro’s usually adjust the ISO automati- cally, which is why photos taken in low light situations look grainy and have a poor quality.
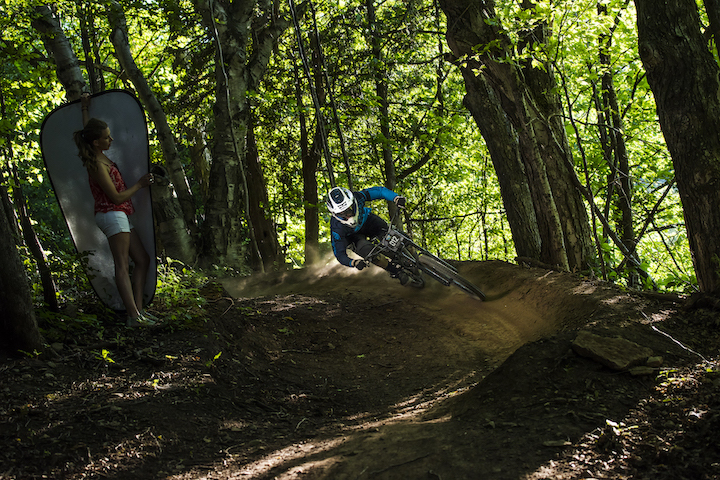
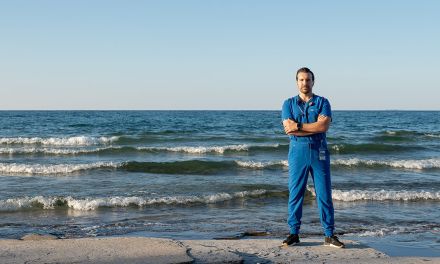
Using a reflector too add light helps with fast moving subjects
When shooting quick moving subjects like downhill mountain bikers, you need a fast shutter speed. One of the best ways to achieve this on a cell phone or GoPro is to use “burst mode”. If you are using a cell phone this usually means pressing and holding your shutter release to take multiple images. To best capture the action, hold your shutter release a split second early. Unfortunately, a fast shutter speed darkens your image, so you need to compensate by increasing your aperture and ISO. Or you can add more light—one of my favorite Blue Mountain action photographers, Marc Landry, is a wizard at this. Marc uses multiple off-camera flashes to light his subjects, creating bright, crisp and clean images. If you don’t have expensive equipment at your disposal, don’t fret. Here is one simple tip — choose a sunny spot to shoot.
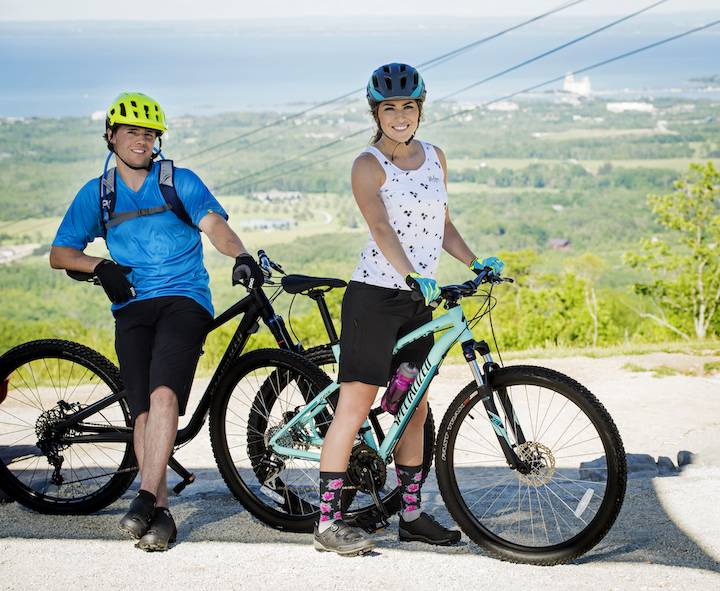
Whether you’re shooting with a digital camera, cell phone or GoPro, your photos will be better if you capture fast action in bright locations.
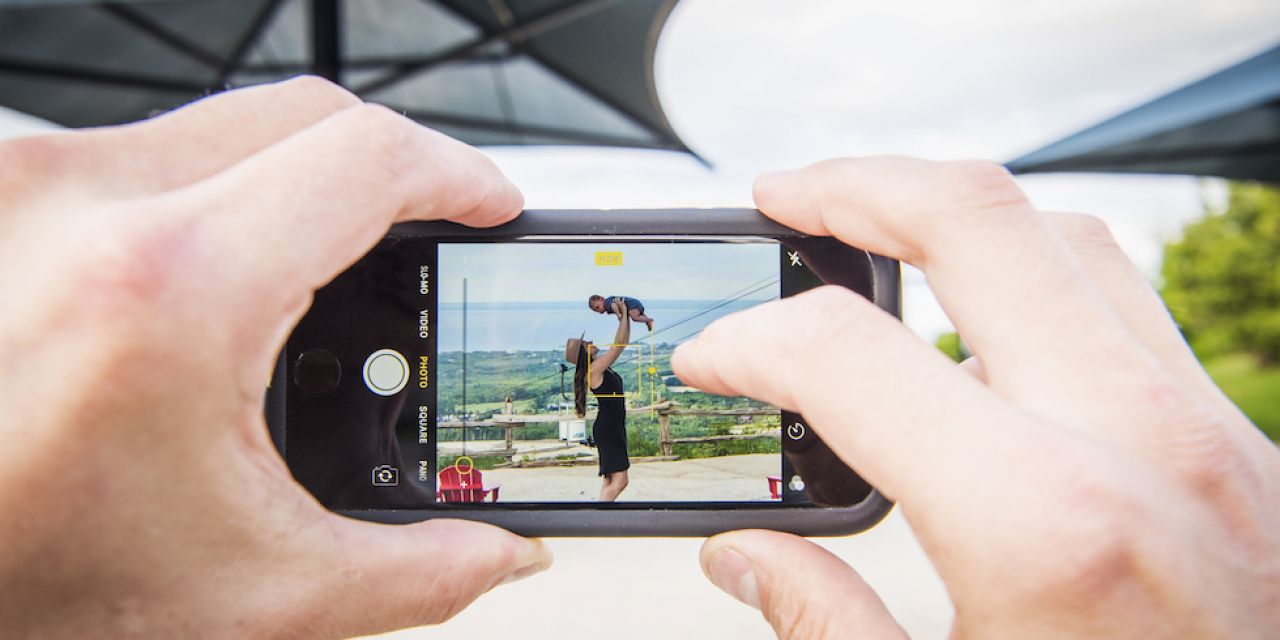
Looking to capture a flattering selfie or family portrait? In this case, direct sunlight is not your friend. Avoid harsh shadows by choosing a shady area. I like using the large umbrellas at the top and bottom of the Blue Mountain gondola. Placing your subject in the shadow of the umbrellas produces a softer light, but this will make your subject darker than the background. As a rule, increasing your exposure will enhance the result. You can do this on your smart phone by touching the screen on the face of your subject. Keep your finger on the screen and slide it upwards to increase your exposure. Or you can increase exposure afterwards by simply using the “edit” option on your phone.
Another great portrait trick is to stand several feet away from your subject and zoom in. Zooming compresses an image, making distant objects appear closer to your subject. It also blurs the background, creating a dramatic empha- sis on your subject.
Want a really soft and warm image? Try shooting into the sun. Place your subject between you and the sun. Adjust exposure as mentioned earlier and experiment with letting a little direct sunlight into your lens. If done correctly, the lens flair can really soften an image.
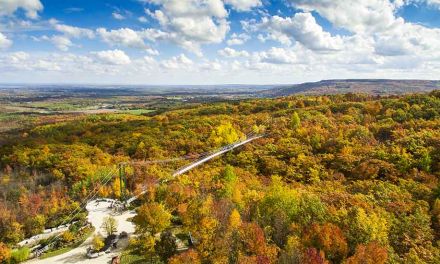
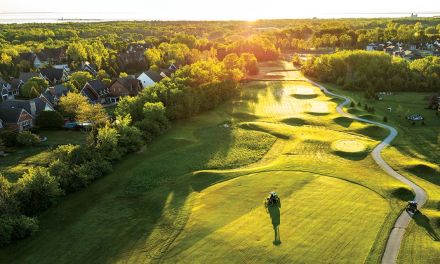
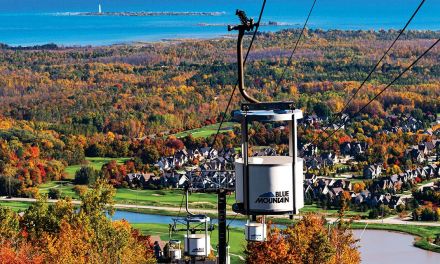
Shooting landscapes from the top of Blue is one of the best ways to capture the beauty of Georgian Bay. On a clear day you can see all the way to Wasaga Beach, Christian Island and beyond. The trick to taking striking landscape photos is a small aperture (uppercase F number on your camera). This insures more of your photo is in focus. Some of my favourite places to shoot landscapes include the top of the gondola. The cedar fence by the top of the Southern Comfort Chairlift. The gravel trail along Scenic Caves Road. And across the Mill Pond in the Village. To create an even more interesting photo, try to frame your photo with something in the foreground to add depth. And remember to keep the horizon straight.
I’m amazed at the quality of smart phone cameras today. My first semi-professional digital DSLR was 12 megapixels, that’s the same size camera as an iPhone X. With quality like this, you can do a lot with your images. Plus, there are countless photography apps that will only enhance your final product.
The best overall advice I can give is get to know your device. Whether you have a DSLR, GoPro or smart phone, read your owner’s manual, learn the different shooting modes and how to access them quickly. Summer goes by in a flash—you don’t want to miss your shot. |E|


